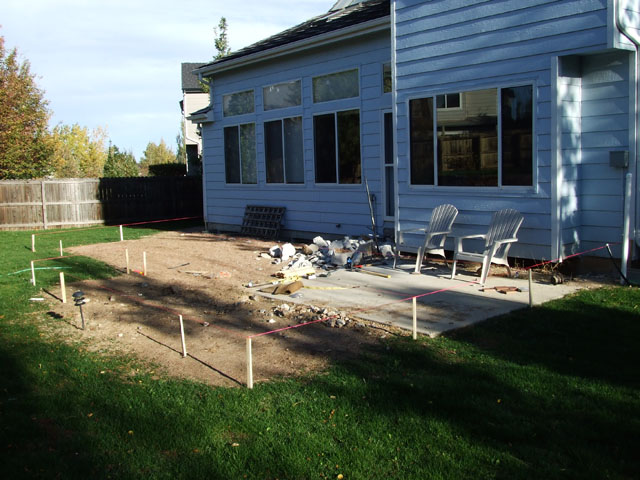
My Deck
This page shows the progression of my deck.
Initial Layout
This was my initial layout, and some deconstruction. I was removing the back step this day. I rented a jackhammer from Home Depot for that job.

Here's what was left of the back step after it was deconstructed and removed. I have a big pile of concrete in a back corner of my yard.
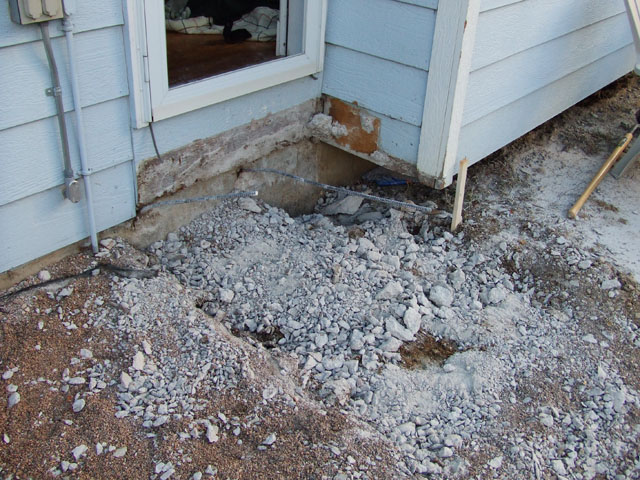
Ledger Board
I was installing the ledger board this day. The most interesting thing in this picture is the laser I was using to level the deck. Pretend it is Where's Waldo, and find it.
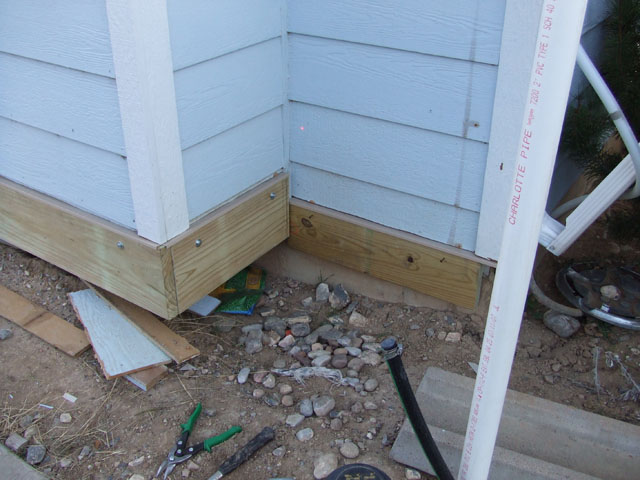
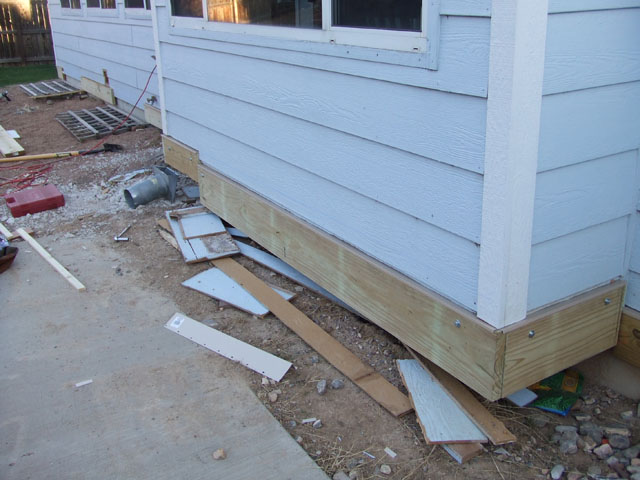
Here's another view of the ledger installation. The gaps in the ledger at the far end of the house are where the basement window wells are. I am building the deck around them, and will install a clear cover over them.
Footings
This is the tool I used to dig out the footings. It is a one person post hole digger. All the holes were at least 30" deep.

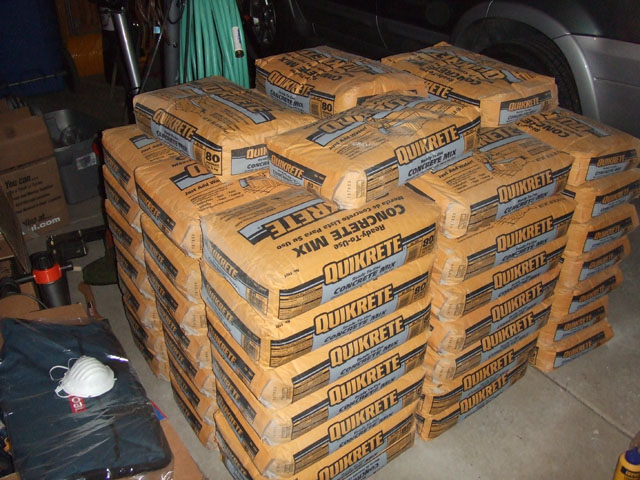
Here's my giant stack of concrete for the footings. I believe there are 60 bags of concrete here. I thought that was enough, but I had to go back to the Depot and get another 15 bags. I am very impressed with how well my truck handles the weight. I had 15 bags (1,200 lbs), myself, my neighbor, and his son in my truck. Fortunately, though, I wasn't going very far.
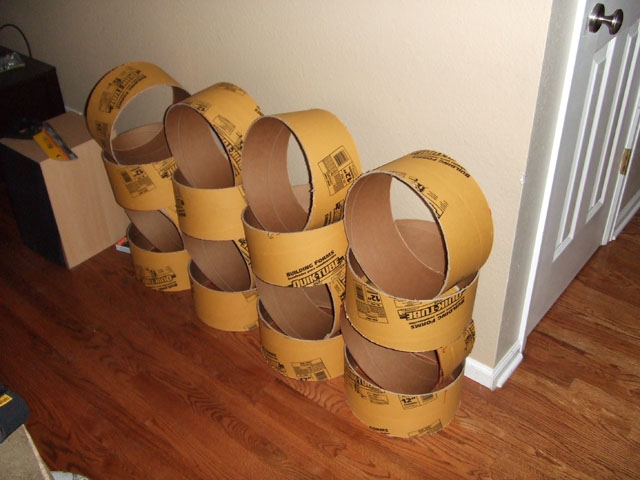
I didn't need tubes for the entire depth of the holes, so I cut them into 6" sections and we used them at the top of the holes.
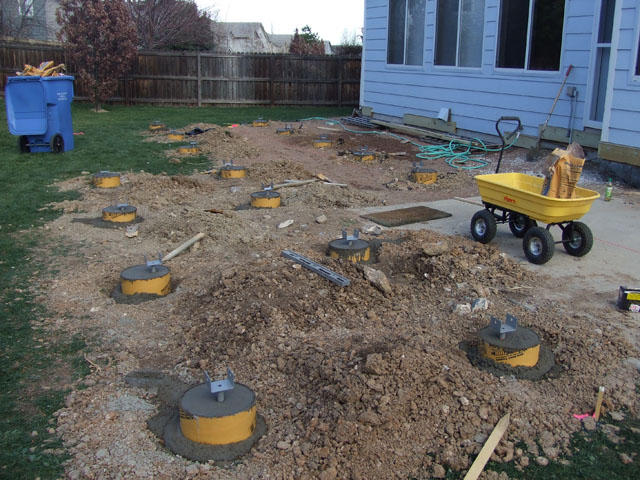
Here are the poured footings. My neighbor and his son helped do this. I rented an electric mixer from the Depot that let us mix the concrete in place, and dump it directly from the mixer into the holes. I was really glad for the help.
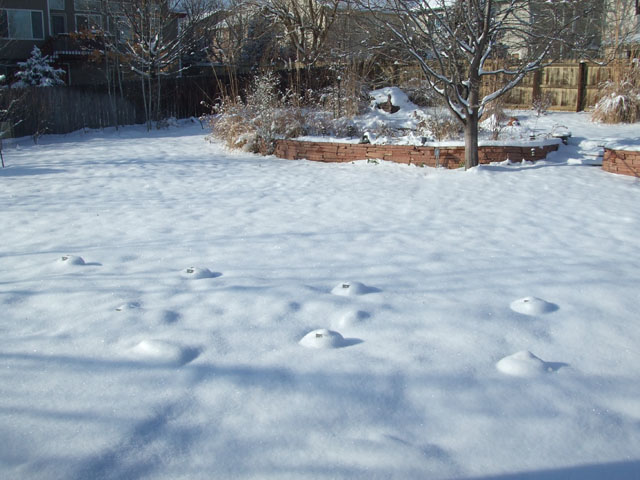
About two weeks after the footings were poured we got some good snowfall.
Material Delivery
Here's the decking company dropping of my gigantic pile of lumber. The framing material is on the bottom, and the decking is on the top. The decking is TimberTec Tropical Teak.
Since it was going to snow I decided to move the material into my garage. A neighbor was driving by (yes, it's a cul-de-sac), and came over to help move the wood. It was a huge help.
Construction
So, I started construction. Here's the first day's worth. Keep in mind that the day is from around 11 am until around 4 pm because it is cold early in the morning, and it gets dark early in the evening. Or I'm a wuss. You decide.
Mostly I worked this day on getting one edge straight and square. I also pieced two of the beams together. The beams are 2x8s sandwitched and screwed together.

This day I finished the third beam, squared up the other side, and installed the end joist.
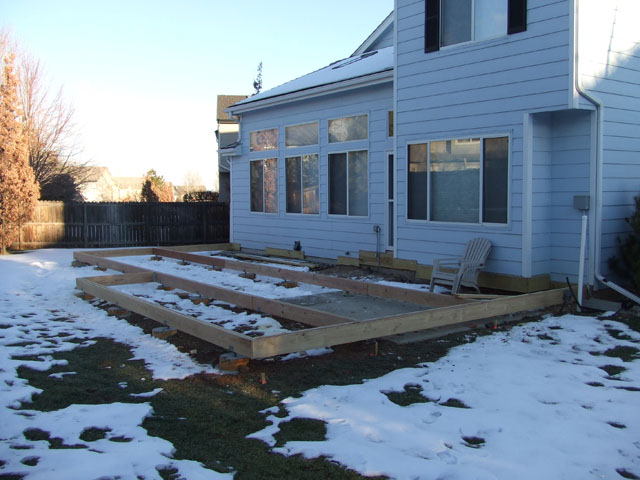
Here's another angle.

Well, it decided to snow some more. This was taken out my kitchen window.
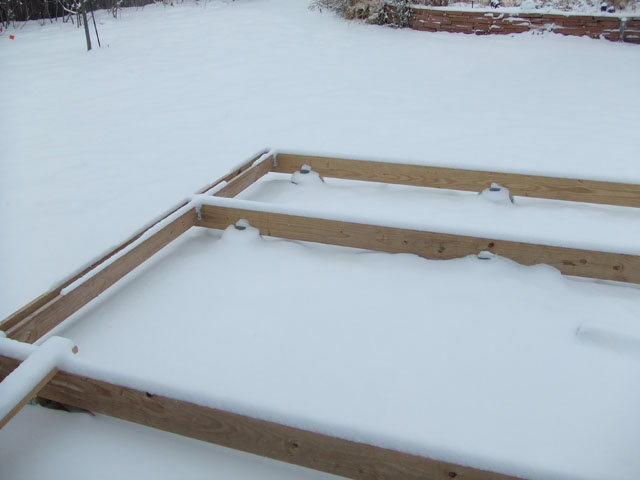
Today I put in a number of joist hangers and cut a number of joists. They aren't nailed in yet.

More snow?! Crazy. It doesn't look like as much on this end, but at the other end of the deck it's around a foot deep.
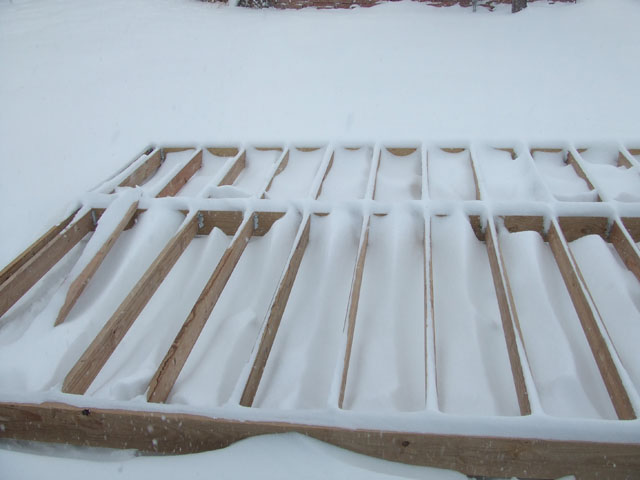
I put in a bunch more joist hangars, and started some of the framing around the basement windows.

Here's a view from the other side.
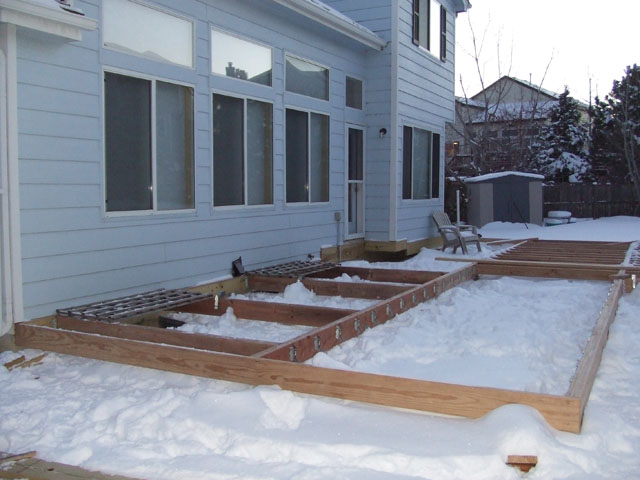
Well, I got a lot done today. I put on most of the rest of the joist hangars. I framed in the step. There are a few more joist hangars to install, but all the joists are cut. A neighbor came over about when it was time to start cutting the wood. That made a huge difference. His kids came a little later and helped by nailing in some joists, carrying wood, screwing in some backing, and other miscelaneous things.
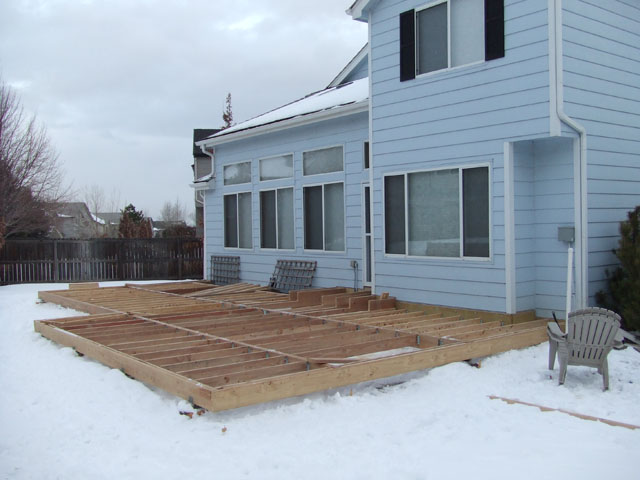
Here's the other side again.
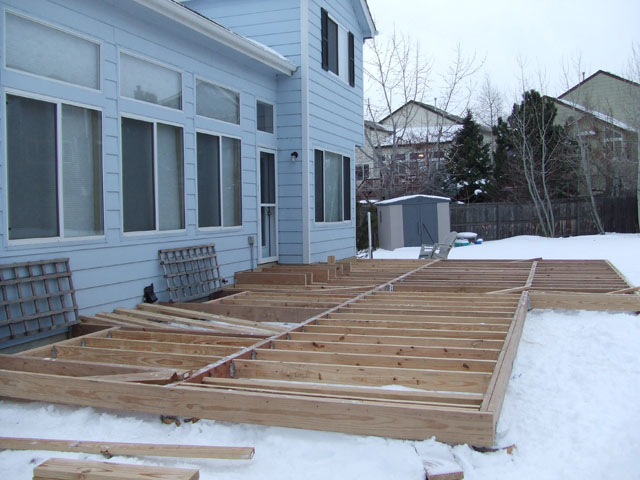
At this point I need to go back through and nail all the joists in. That one always sucks because of those stupid nails. I really don't like them, but they work. I may add cross bracing to some of the joists, but haven't decided for sure yet. I don't have much leftover material. Actually almost none! Here's a picture of the stack of wood in my garage!
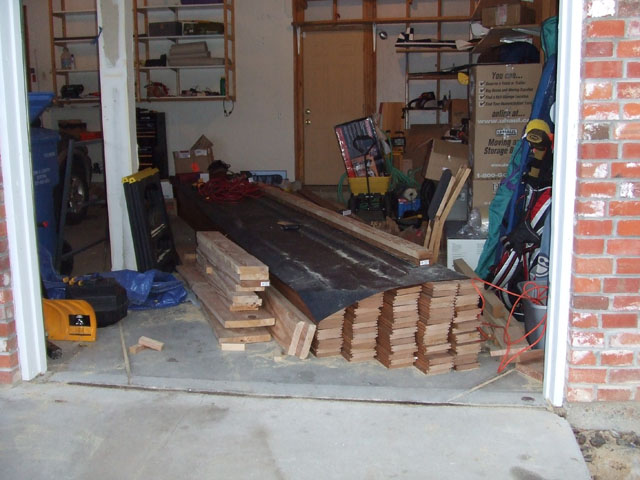
As you can see, the only full pieces of wood are the 2x4s. I think they gave me too many, or my count was seriously off on just those. Either way it worked out very well. I can use the scraps for the cross bracing.
Now everything is nailed together except a few places around the step.
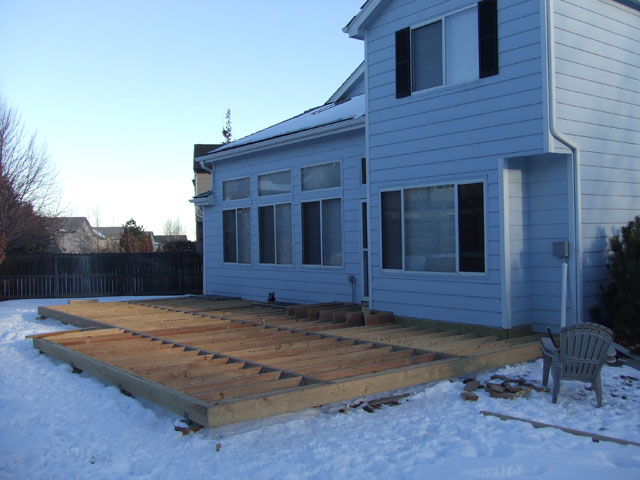
This week was warm, and most of the snow melted. That sounds good, but really it just meant that I worked in the mud. Where's the cold when you need it?!
This is mostly wraping up of some details. The step is nearly complete.

Finally, some decking! The last piece is not screwed in, and the edges are only barely screwed on. I'll fix those in place in due time. There will also be a piece of facia covering the beams.
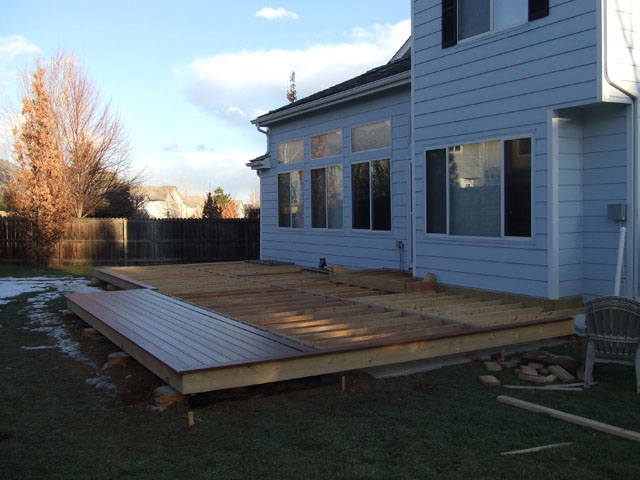
Here's a better view of the decking.

And one final view of the decking so you can see the pattern better.

Tonight it got it's first dusting of snow.
After taking a few weekends off I finally got around to working some more. All work and no play makes me very dull, so I went skiing, claimed it was too cold, etc. Here's the latest.
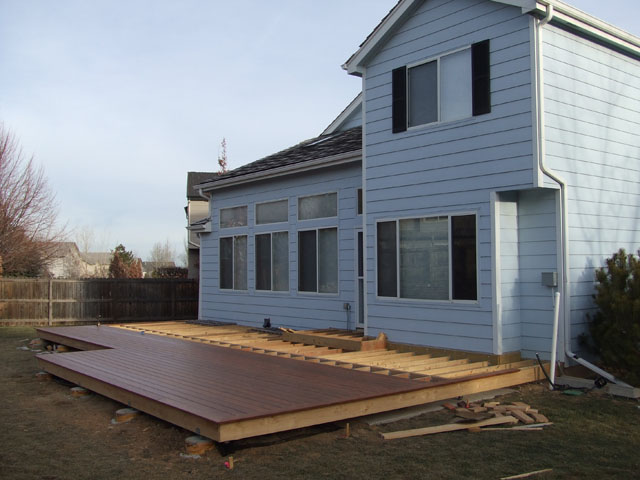
Well, here's some progress!

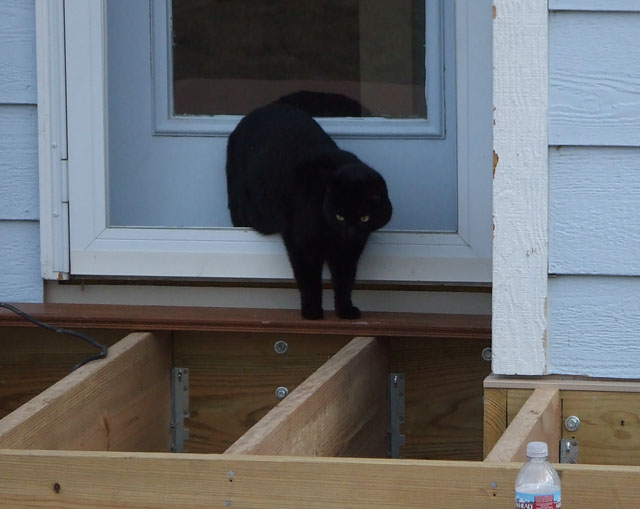
With all that work done, Jaws had to inspect it. It doesn't look like she approves.
Some more good progress this weekend!
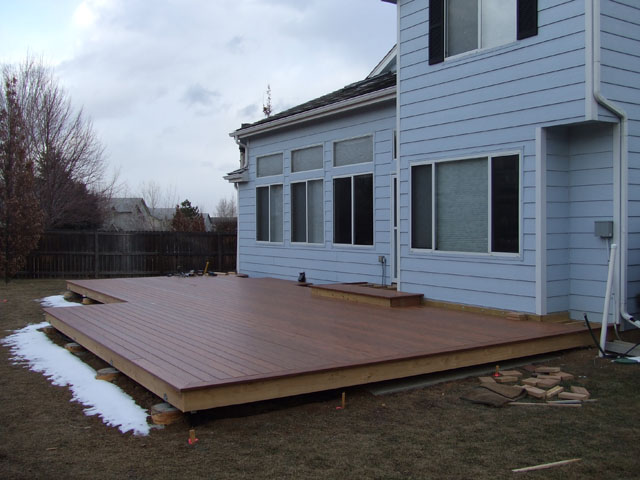
Another angle...
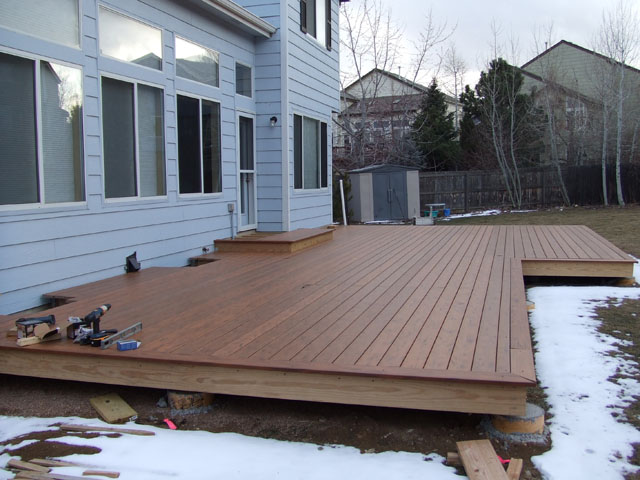
At this point almost all the decking is on. Unfortunately that means things slow down now. Finish work always takes longer!
Time Passes...
Since the last update there has been a number of things finished. It's hard to see in the places that matter, but I put some anti-rabbit fencing around the base of the deck. No, it isn't there to electrocute them, or anything else cruel. I just don't want any critters building their homes under my deck, so I put wire mesh several inches into the ground the entire way around the deck. You can see the mesh sticking out (for now) at the concrete footings.
The entire step has been completed.
The window wells have been cut to shape, and the edges have been routered. I still need covers so no one steps in the holes.
I added the facia boards all the way around the face of the deck and step.
At this point all the boards are cut and in place. I need to fasten some of them down better, but no more saws will be involved!
Here are the pics...
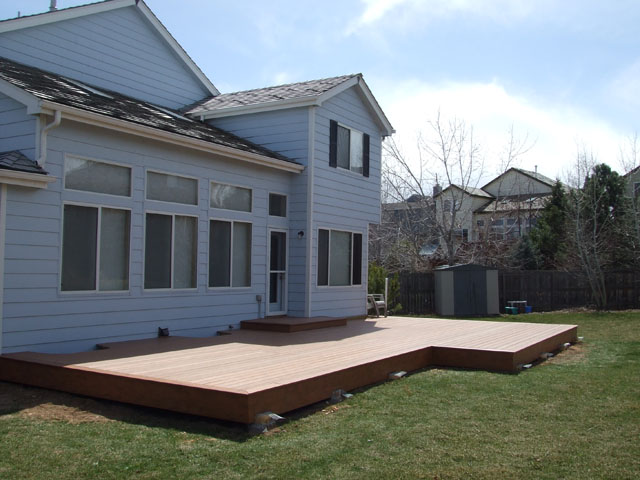
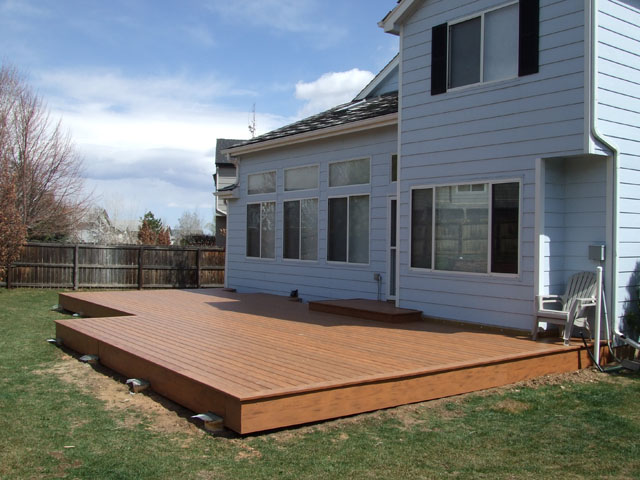
Not much more will be done here, so I wouldn't hold my breath for any more updates.